
When you start thinking about a user guide for your shiny new software product you have to think about
- who will be reading it -> make a list of end users
- where you put it -> it has to be available for all the end users, but also practical for you to work on without changing your whole environment.
Mostly the users of a product are using other tools then the common software developer. They like to read a user guide in their Business Wiki or in a nice formatted PDF or on a shiny web site, which they can reach directly from the product.
As a developer I don´t want to think about formatting and designing a nice document. I want to add my content to a file, start an automation and magically get a readable document that fulfills all those requirements.
Therefore the content of the user guide should be managed in your code repository next to your other work. Markdown files are most suitable for this, because they include the plain text and can be used easily with other tools which do all the magic. You can add one file for each chapter to make it easy to work on each chapter independently, with different people, make reviews and keep them versioned in git.
Add repo in Git and add your markdown files
Add a git repository for your user guide and add some markdown files for the chapters you want to include. The following chapters are examples for chapters commonly used in a user guide:
- Introduction
- Feature Overview
- Getting started
- User interface (step-by-step instructions)
- Advanced Features
- Main Use Cases (Best practices)
- Maintenance
- Troubleshooting
- Frequently asked questions
- Glossary
- Contact information
But of course you can change these to your needs.
Add a readme file with a short introduction about your product, a table of contents and instructions on how to build the user guide to the different output formats that you need.
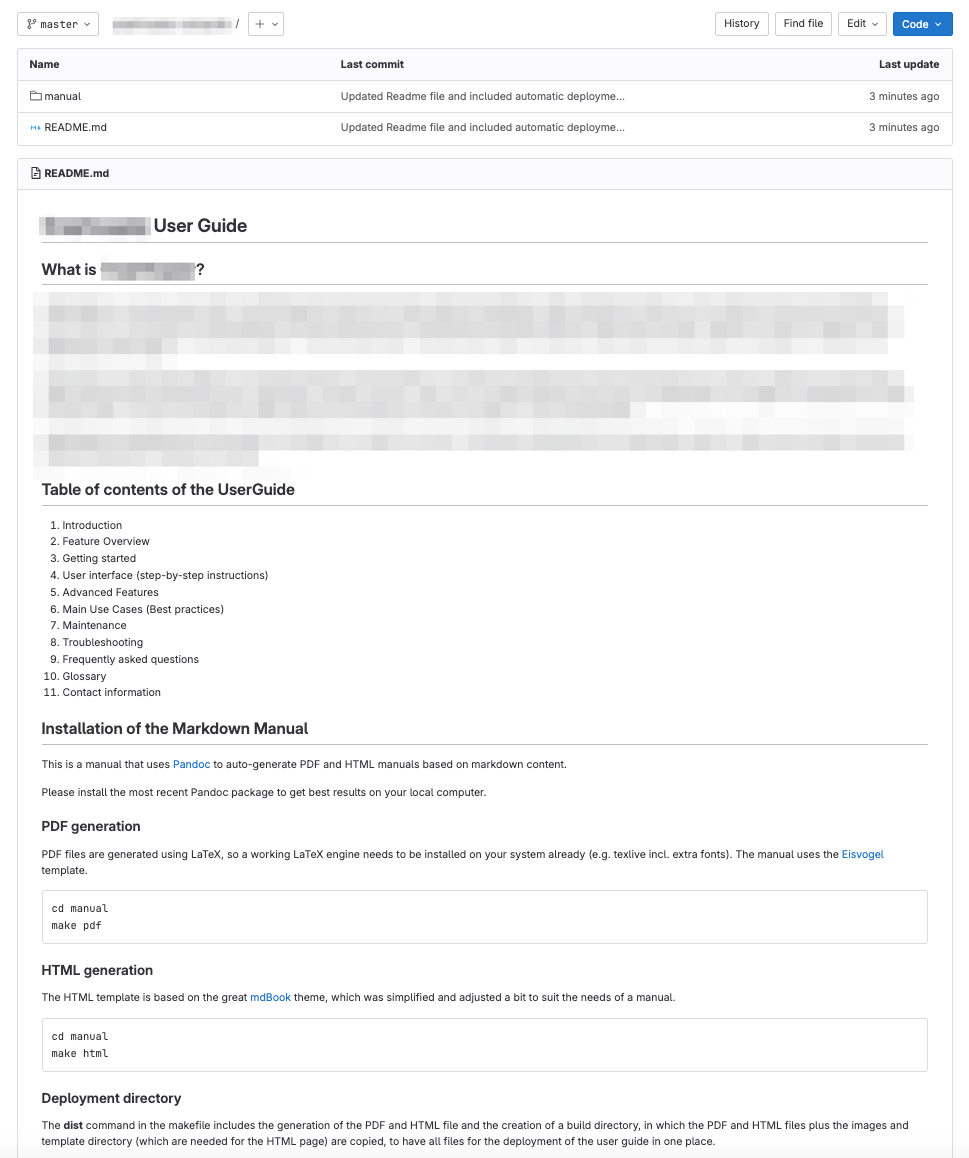
Install Pandoc and Latex on your local machine
The generation of nice PDFs and a HTML page can be done with Pandoc and Latex. Those tools have to be installed on your local machine.
Add configuration and template files
In the folder „manual“ you can find your markdown files, a make file which makes the magical generation with Pandoc, some metadata, to configure for example the title, author, date, version, logo etc. and a folder for the images you want to include in your user guide.

The content of the Makefile only defines the tool directory and calls the second make file:
export TOOL_DIR = tool
include $(TOOL_DIR)/Makefile_include
The metadata.yml file defines your parameters for the user guide:
---
title: "Template Device"
title-prefix: "User Manual"
subtitle: "User Manual"
author: [xxx xxxx]
date: "2024-03-01" ## you can also add \today to have the current date after every build
subject: "Markdown"
keywords: [Markdown, Example]
lang: "en"
titlepage: true
titlepage-text-color: "005e85"
titlepage-rule-color: "005e85"
titlepage-rule-height: 2
logo: "images/libresolar-logo-lateral.pdf"
logo-width: 200
toc-own-page: true
...
The tool folder
Then you have the folder called „tool„, which includes the templates and another make-file, which will be called from the first one .

The second make file defines the make functions which will be called from your terminal to generate the PDF or HTML or both and add them to the build folder.
# NOTE This variable has to be defined in the including file:
#TOOL_DIR = tool
OUT_DIR = build
RESOURCES = $(TOOL_DIR)/template images
MKDIR_P = mkdir -p
# Targets not producing a file with their name
.PHONY: all pdf html dist clean
all:: pdf html
# Creates the PDF from your markdown files with the eisvogel template
pdf:: metadata.yml *.md
pandoc \
metadata.yml *.md \
--output manual.pdf \
--template $(TOOL_DIR)/template/eisvogel.tex \
--from markdown \
--listings \
--number-sections \
--table-of-contents \
--metadata date="`date -u '+%Y-%m-%d'`" #You can change the date format here
# Creates the HTML page from your markdown files with the mdbook template
html:: metadata.yml *.md
pandoc \
metadata.yml *.md \
--output manual.html \
--template $(TOOL_DIR)/template/mdbook.html \
--from markdown \
--listings \
--number-sections \
--table-of-contents \
--toc-depth=2 \
--katex \
--metadata date="`date -u '+%Y-%m-%d'`" #You can change the date format here
# Creates a new directory for the distribution named build, copys the pdf and html into it and also the images and template directory. You can also manually add a build directory in your repo and remove the command to add a new directory here.
dist:: all
${MKDIR_P} ${OUT_DIR}
cp -r ${RESOURCES} ${OUT_DIR}/
mv manual.pdf ${OUT_DIR}/
mv manual.html ${OUT_DIR}/index.html
# Deletes the PDF and HMTL file and the build directory from the first level
clean::
rm -f manual.pdf
rm -f manual.html
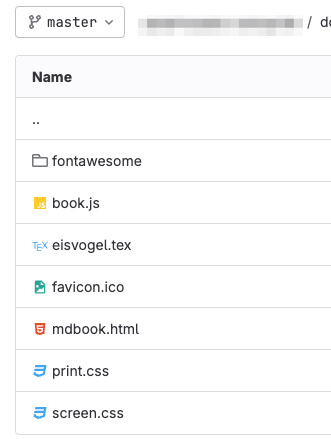
rm -rf ${OUT_DIR}The template folder
In the „template“ folder you find the latex „Eisvogel“ template for the PDF and the template files for the HTML page, including the mdbook-Template, CSS-files, some Javascript, fonts etc.
The build folder
The „build“ folder will include the final PDF and HTML page to be deployed whereever you want to have it. This folder can also be pushed somewhere during the deployment process and is then included into your continuous integration process.

Link to download the template
In the following Github project a template for this solution can be downloaded and used in your repo: https://github.com/LibreSolar/md-manual-template/